 Zhan's Blog
Vue 插件
简介
TIP
- 脚手架@vue/cli 4.5.8
- vue-cli3 创建的时候并不会自动创建 vue.config.js,因为这个是个可选项,所以一般都是需要修改 webpack 的时候才会自己创建一个 vue.config.js,其内部高度集成了 webpack,一般来说使用者不需要再去知道 weboack 做了什么,所以没有暴露 webpack 的配置文件,但你依然可以创建 vue.config.js 去修改默认的 webpack
- 本 demo 使用 webpack 的配置方式,即创建 webpack.config.js
demo 地址
ts
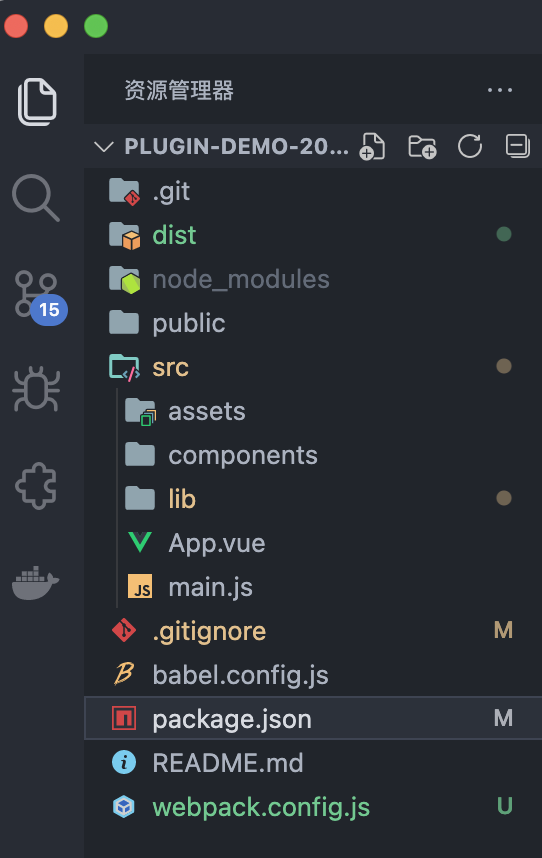
npm i zmy-plugin-test文件结构
一、创建项目
ts
// 不可与npm现有的库重名
vue create zmy-plugin-test
二、src 下创建 lib 文件
1. packages 专门用于开发组件
2. lib/index.js 用于对外暴露
3. lib/index.js
ts
import AInput from './packages/input/index'
import AButton from './packages/button/index'

const components = [AInput, AButton]

const install = (Vue) => {
  components.forEach((component) => {
    Vue.component(component.name, component)
  })
}

if (typeof window !== 'undefined' && window.Vue) {
  install(window.Vue)
}

export { AInput, AButton }

export default {
  install,
}
4. packages/button/aButton.vue
vue
<template>
  <div>
    <button @click="click">{{ text }}</button>
  </div>
</template>
<script>
export default {
  name: 'AButton',
  props: {
    text: {
      type: String,
      default: 'hello,a-button!',
    },
  },
  data() {
    return {}
  },
  methods: {
    click() {
      alert('hello')
    },
  },
}
</script>
5. packages/button/index.js
ts
import AButton from './aButton'

AButton.install = function (Vue) {
  Vue.component(AButton.name, AButton)
}

export default AButton
三、package.json 文件
TIP
关于版本,比如不加修饰符 5.1.8(即为指定版本)
- 加* 主版本号自升 5
- 加^ 次版本号自升 1
- 加~ 补丁版本号自升 8
关于 peerDependencies
json
1. 不使用peerDependencies,依赖结构:
|── node_modules
    ├── element-ui
    ├── p1
    │   └── nodule_modules
    │       └── element-ui
    └── p2
        └── nodule_modules
            └── element-ui

2. 使用peerDependencies,依赖结构
│── node_modules
    ├── element-ui
    ├── p1
    └── p2

// 在插件p1和p2中这样引入
"peerDependencies": {
  "element-ui": "^2.15.6"
}
json
{
  "name": "zmy-plugin-test", // 打包名称
  "version": "0.0.1", // 版本
  "private": false, //
  "main": "dist/build.js",
  "description": "插件发布测试",
  // 增加一些标签,可以增加被浏览的概率
  "keywords": ["vue", "js"],
  "scripts": {
    "serve": "vue-cli-service serve",
    "lint": "vue-cli-service lint",
    "build": "cross-env NODE_ENV=production webpack --progress --hide-modules"
  },
  "dependencies": {
    "core-js": "^3.6.5",
    "vue": "^2.6.11"
  },
  "devDependencies": {
    "@vue/cli-plugin-babel": "~4.5.0",
    "@vue/cli-plugin-eslint": "~4.5.0",
    "@vue/cli-service": "~4.5.0",
    "eslint": "^6.7.2",
    "eslint-plugin-vue": "^6.2.2",
    "stylus-loader": "^6.2.0",
    "webpack-cli": "^4.9.1",
    "babel-core": "^6.26.0",
    "babel-loader": "^7.1.2",
    "babel-preset-env": "^1.6.0",
    "babel-preset-stage-3": "^6.24.1",
    "cross-env": "^5.0.5",
    "css-loader": "^0.28.7",
    "file-loader": "^1.1.4",
    "vue-loader": "^13.0.5",
    "vue-template-compiler": "^2.4.4",
    "webpack": "^3.6.0",
    "webpack-dev-server": "^2.9.1"
  },
  "eslintConfig": {
    "root": true,
    "env": {
      "node": true
    },
    "extends": ["plugin:vue/essential", "eslint:recommended"],
    "parserOptions": {
      "parser": "babel-eslint"
    },
    "rules": {}
  },
  "browserslist": ["> 1%", "last 2 versions", "not dead"]
}
四、webpack.config.js 文件
ts
const path = require('path')
const webpack = require('webpack')

module.exports = {
  // 修改入口文件
  entry:
    process.env.NODE_ENV === 'development'
      ? './src/main.js'
      : './src/lib/index.js',
  // output对象中新增
  output: {
    path: path.resolve(__dirname, './dist'),
    publicPath: '/dist/',
    filename: 'build.js',
    // 指定的就是你使用require时的模块名
    library: 'zmy-plugin-test',
    // libraryTarget会生成不同umd的代码,可以只是commonjs标准的,也可以是指amd标准的,也可以只是通过script标签引入的
    libraryTarget: 'umd',
    // 会对 UMD 的构建过程中的 AMD 模块进行命名。否则就使用匿名的 define
    umdNamedDefine: true,
  },
  module: {
    rules: [
      {
        test: /\.css$/,
        use: ['vue-style-loader', 'css-loader'],
      },
      {
        test: /\.vue$/,
        loader: 'vue-loader',
        options: {
          loaders: {},
          // other vue-loader options go here
        },
      },
      {
        test: /\.js$/,
        loader: 'babel-loader',
        exclude: /node_modules/,
      },
      {
        test: /\.(png|jpg|gif|svg)$/,
        loader: 'file-loader',
        options: {
          name: '[name].[ext]?[hash]',
        },
      },
    ],
  },
  resolve: {
    alias: {
      vue$: 'vue/dist/vue.esm.js',
    },
    extensions: ['*', '.js', '.vue', '.json'],
  },
  devServer: {
    historyApiFallback: true,
    noInfo: true,
    overlay: true,
  },
  performance: {
    hints: false,
  },
  devtool: '#eval-source-map',
}

if (process.env.NODE_ENV === 'production') {
  module.exports.devtool = '#source-map'
  // http://vue-loader.vuejs.org/en/workflow/production.html
  module.exports.plugins = (module.exports.plugins || []).concat([
    new webpack.DefinePlugin({
      'process.env': {
        NODE_ENV: '"production"',
      },
    }),
    // new webpack.optimize.UglifyJsPlugin({
    //   sourceMap: true,
    //   compress: {
    //     warnings: false
    //   }
    // }),
    new webpack.LoaderOptionsPlugin({
      minimize: true,
    }),
  ])
}
五、打包发布
ts
// 先装依赖
cd zmy-plugin-test
npm i
// 打包,自动执行package.json对应script脚本
npm run build
// 发布之前,注意切换npm源
npm config set registry http://registry.npmjs.org
/*
登陆:账户、密码、邮箱;
1. 如果这一步报错,类似于403,各种forbidden,别忘记去npm注册账户,验证邮箱哈
2. 验证邮箱可能会报个error一串哈希值,可以先登陆账号别关闭网页,再点击邮箱的verify
*/
npm login
// 发布
npm publish
六、项目中使用
TIP
Vue.use( plugin ) 参数:
{Object | Function} plugin 用法:
安装 Vue.js 插件。如果插件是一个对象,必须提供 install 方法。如果插件是一个函数,它会被作为 install 方法。install 方法调用时,会将 Vue 作为参数传入。
该方法需要在调用 new Vue() 之前被调用。
当 install 方法被同一个插件多次调用,插件将只会被安装一次。
参考:插件
1. main.js
ts
// 方式一
import zmy from 'zmy-plugin-test'
Vue.use(zmy)
// 方式二
import { AButton, AInput } from 'zmy-plugin-test'
Vue.use(AButton).use(AInput)
2. test.vue
vue
<template>
  <div>
    <AButton :text="'点我试试'"></AButton>
    <AInput :value="'赋予新的文字'"></AInput>
  </div>
</template>